Post-Storm Roof Inspection: What to Look For
Comprehensive guide to post-storm roof assessment, damage documentation, and professional inspection coordination.
After severe weather, proper roof inspection is essential for identifying damage and protecting your insurance claim rights.
## Immediate Safety Assessment
Before inspecting your property, ensure the area is safe. Watch for downed power lines, structural instability, and gas leaks. Never walk on a damaged roof—this creates safety risks and can void warranties. Inspect from the ground using binoculars if possible.
## What to Look For
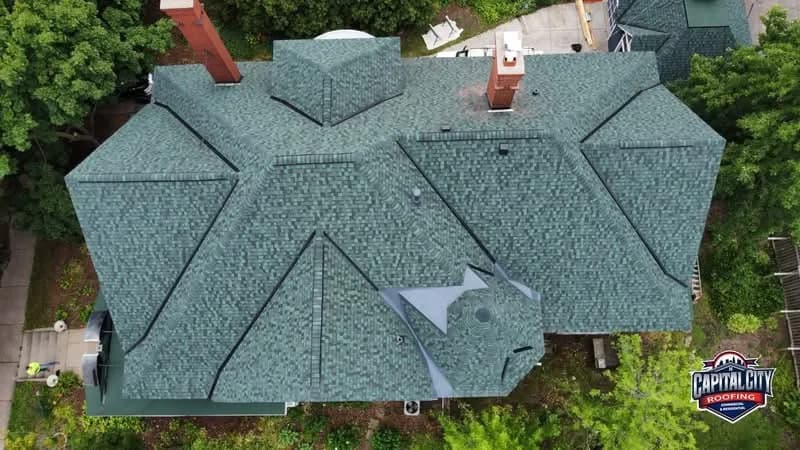
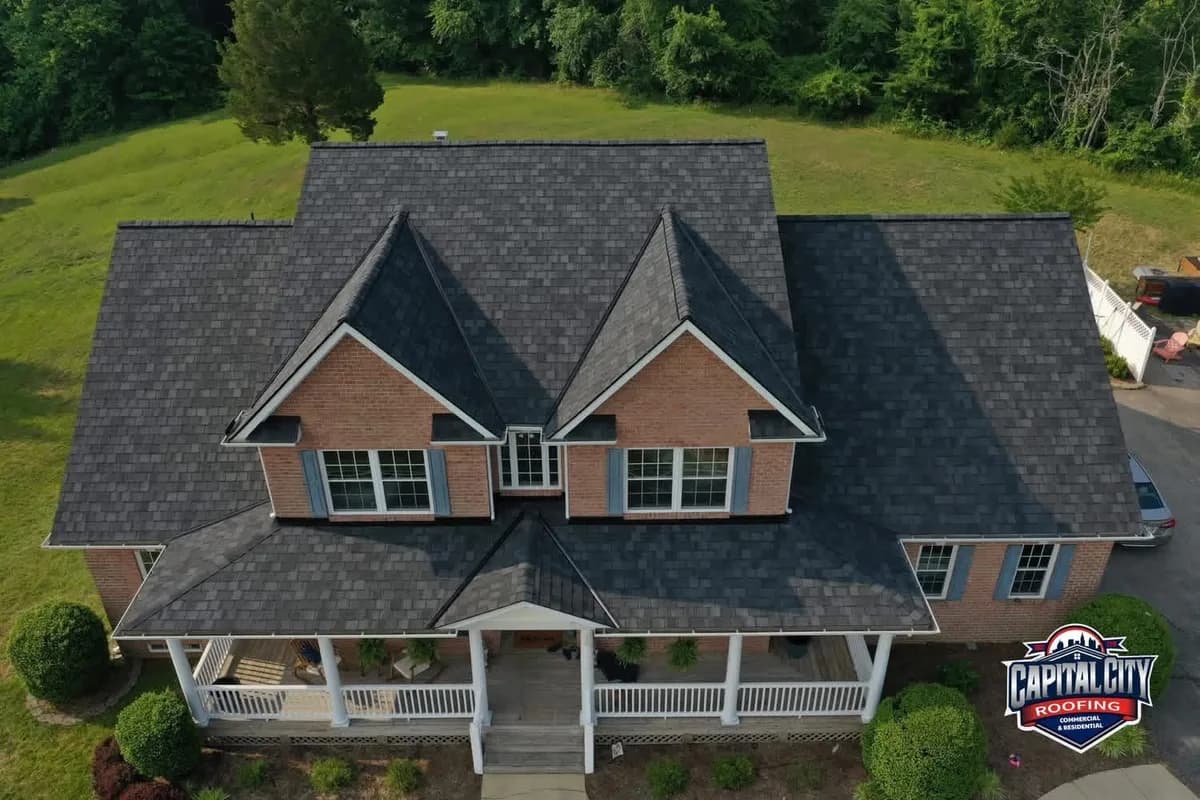
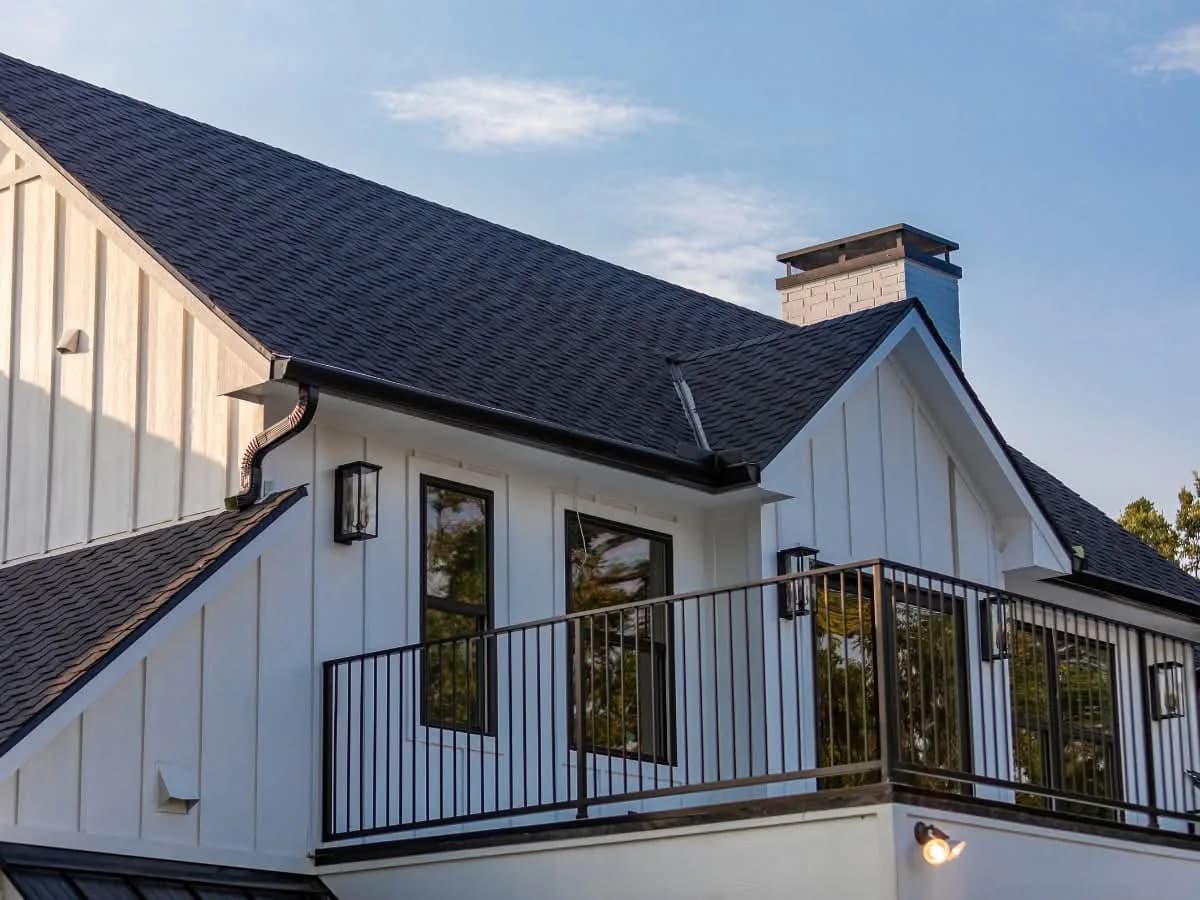
Check for missing, lifted, or damaged shingles, especially along roof edges and peaks. Look for dented or damaged flashing around chimneys, vents, and skylights. Inspect gutters for separation, denting, or debris accumulation. Check for fallen tree limbs or debris on the roof. Interior signs include water stains on ceilings, increased attic moisture, or daylight visible through roof boards.
## Documentation Best Practices
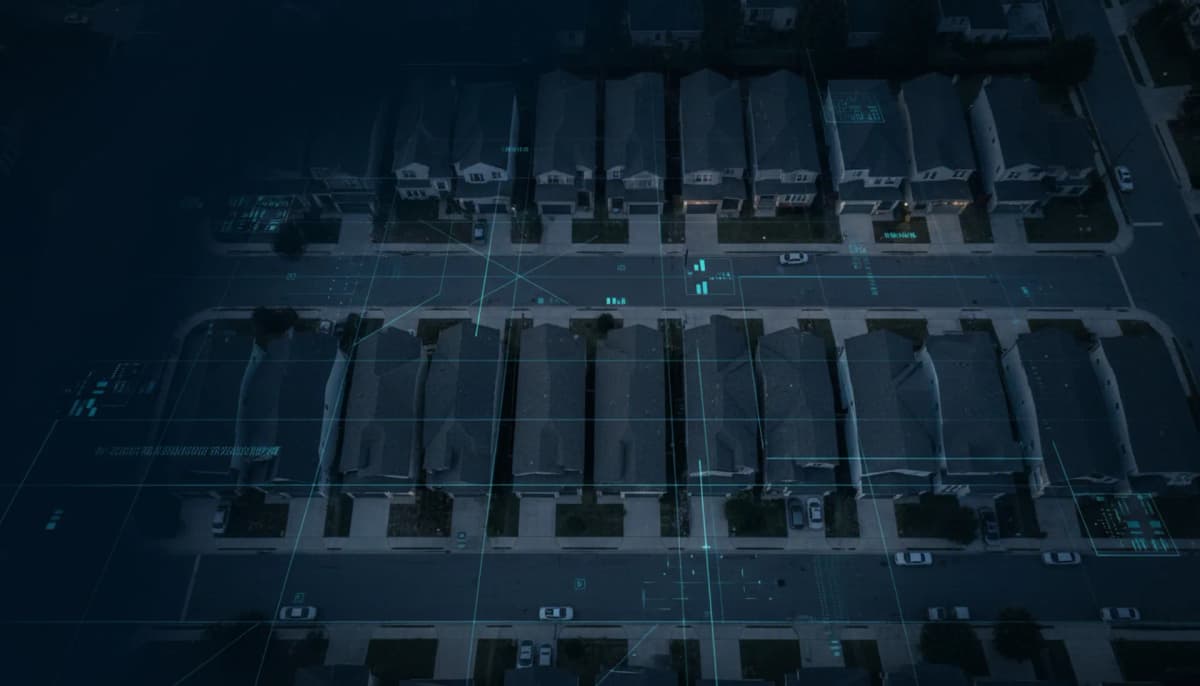
Take clear photos and videos from multiple angles, including close-ups of damage and wide shots showing context. Document the date and time of inspection. Note weather conditions during the storm if known. Save all documentation for insurance claims. Capital City Roofing's BuilderLync technology provides professional-grade documentation that insurance companies trust.
## Professional Inspection Timing
Schedule professional inspection within 24-48 hours after severe weather. Early inspection identifies damage before additional weather events cause secondary issues. Our free storm damage inspections include drone photography, detailed damage mapping, and comprehensive BuilderLync reports. Visit our [storm roof inspection page](/storm-roof-inspection) or [storm damage services](/storm-damage-roofing-alpharetta-ga).